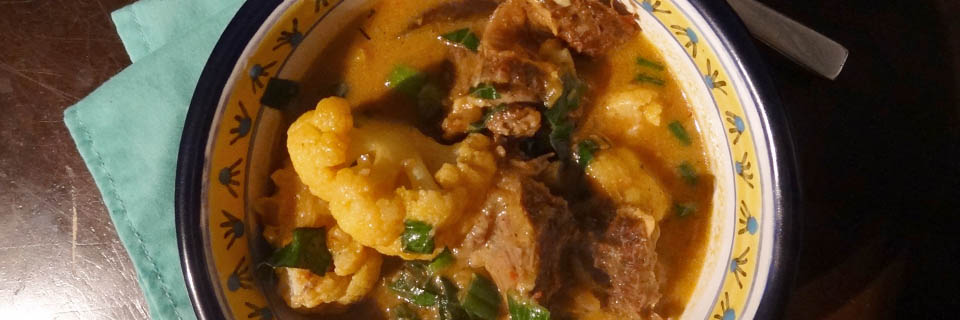
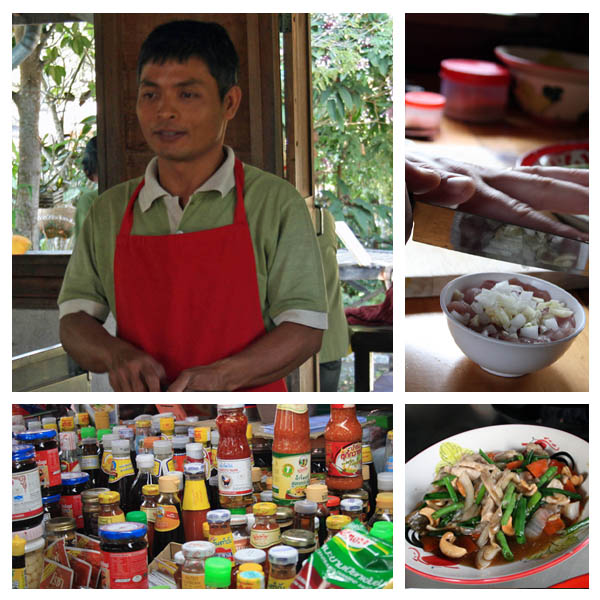
I made an AMAZING curry for Steve and I last week. He was craving braised beef short ribs and I was craving Thai curry and Indian curry…. I really couldn’t decide. So I decided to combine them all into one amazing dish.
We devoured this Thai-Indian fusion… I had no idea it would be so delicious!!!
Ingredients
Serves 3-4.
1 1/2 pounds beef short ribs
1 head of cauliflower, cut into bite size pieces
1/2 of a large eggplant ( 1/4 inch slices if you’re going to grill it, 1/2 inch cubes if you’re going to roast it)
1 1/2 onions, chopped
5-6 cloves garlic, minced
3 cups coconut milk
3 cups beef broth
2 tablespoons of tomato paste
1 teaspoon garam masala
1 teaspoon ground cumin seeds
1 teaspoon cayenne
fresh ground sea salt and black pepper to taste
3 dried bay leaves (2 fresh if you have them)
1-2 star anise ( I love it, so I put two in, but one is probably plenty)
1 tablespoon fish sauce
1 tablespoon coconut oil or vegetable oil
2/3 cup of green onions, 1/4 inch slices
3/4 cup of fresh basil, sliced
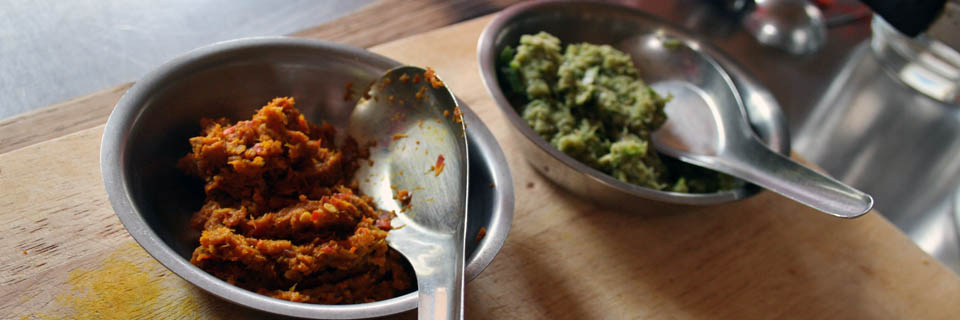
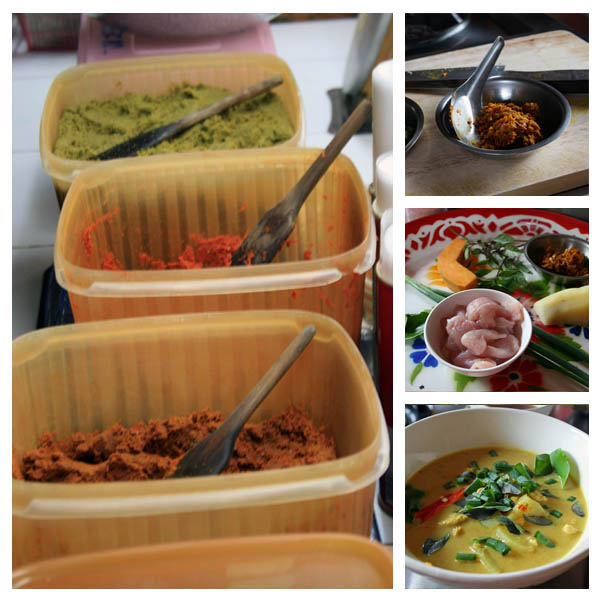
homemade red curry paste
Red Curry Paste
5-6 dried thai chilis, soaked in water for 15 minutes
1 1/2 tablespoons lemongrass, chopped
1/4-1/2 teaspoon cumin seeds
1/4 teaspoon coriander seeds
1 1/2 teaspoons galangal, chopped
1 teaspoon ginger, chopped
1/2 teaspoon lime zest
1 shallot, minced
1-2 cloves garlic, minced
1/4 teaspoon salt
Instructions for Curry Paste
1. Combine all Red Curry Ingredients in a mortar and pestle, and pound it until it’s a paste like consistency.
2. Will make between two and three Tablespoons of curry paste. I used all of it for the East Meets West Red Curry.
Instructions for East Meets West Red Curry
1. Preheat the oven to 400 degrees Fahrenheit and move the oven rack to the middle.
2. Sprinkle eggplant with salt and place it on a cutting board lined with paper towels, this will draw some of the moisture out of the eggplant.
3. Prepare your short ribs. On a cookie sheet lined with aluminum foil (and lightly greased) place your short ribs. Next, season the short ribs on all sides with the cumin seeds, cayenne, garam masala and salt and pepper and really rub the spices into the short ribs.
4. If you will be roasting your eggplant toss it lightly in oil, salt and pepper and go ahead and place it on the cookie sheet with the short ribs.
5. Cook the short ribs (and eggplant if you’re roasting it) for about 20 minutes, until the short ribs are browned.
6. While the short ribs are cooking you can grill your eggplant, brush it with oil and season with salt and pepper before placing it on the grill. Grill for 4-5 minutes on each side on medium-high heat.
7. Now is the time to prepare your red curry paste, if you haven’t already, this takes about 10 minutes.
8. In a dutch oven (over low-medium heat), add one tablespoon of oil, tomato paste, and the red curry paste. Saute for 1-2 minutes to bring out the flavors and then add the onions. Saute the onions for about 4 minutes until soft and then add the garlic and saute for another 2-3 minutes.
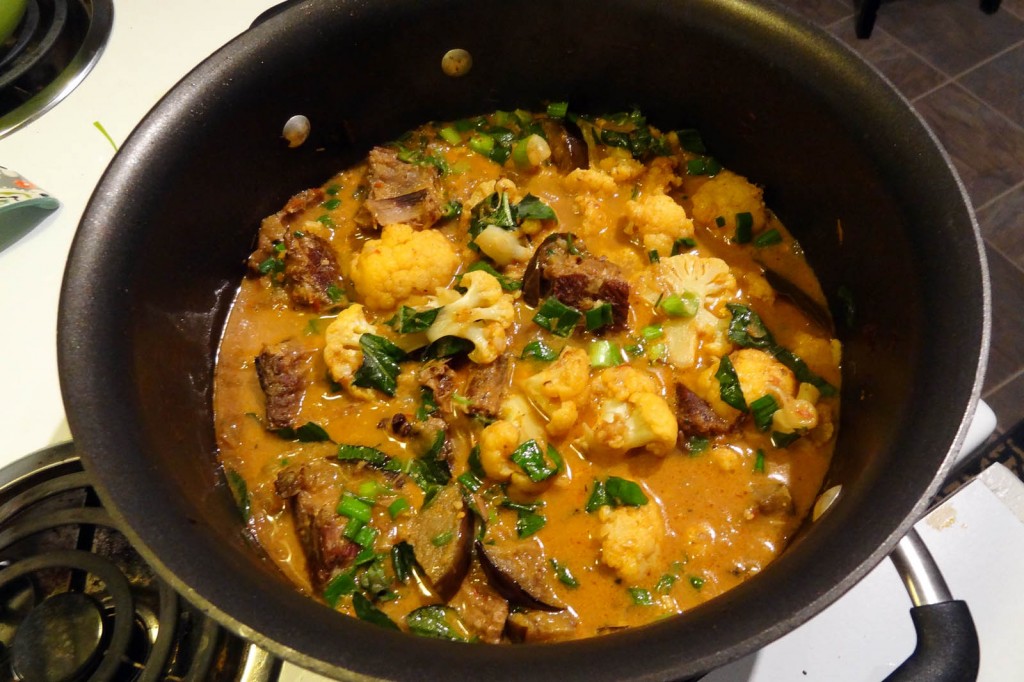
9. Add in the coconut milk, beef broth, bay leaves, star anise and fish sauce. Bring to a simmer.
10. Remove the short ribs from the oven and place them in the dutch oven with the curry (set aside the eggplant for later) and turn the oven temperature down to 300 degrees Fahrenheit.
11. Cover the dutch oven and place it in the oven for 3 hrs.; after about 1 1/2 hours you may need to rotate the short ribs to make sure they are evenly cooking in the curry. If you do it right the meet will fall right off of the bone.
12. Carefully remove the dutch oven from the oven and put it on the stovetop on medium/medium-high heat. Skim as much fat as you can off of the top. Add the cauliflower and eggplant and cook for another 5-6 minutes or until cauliflower is fork tender.
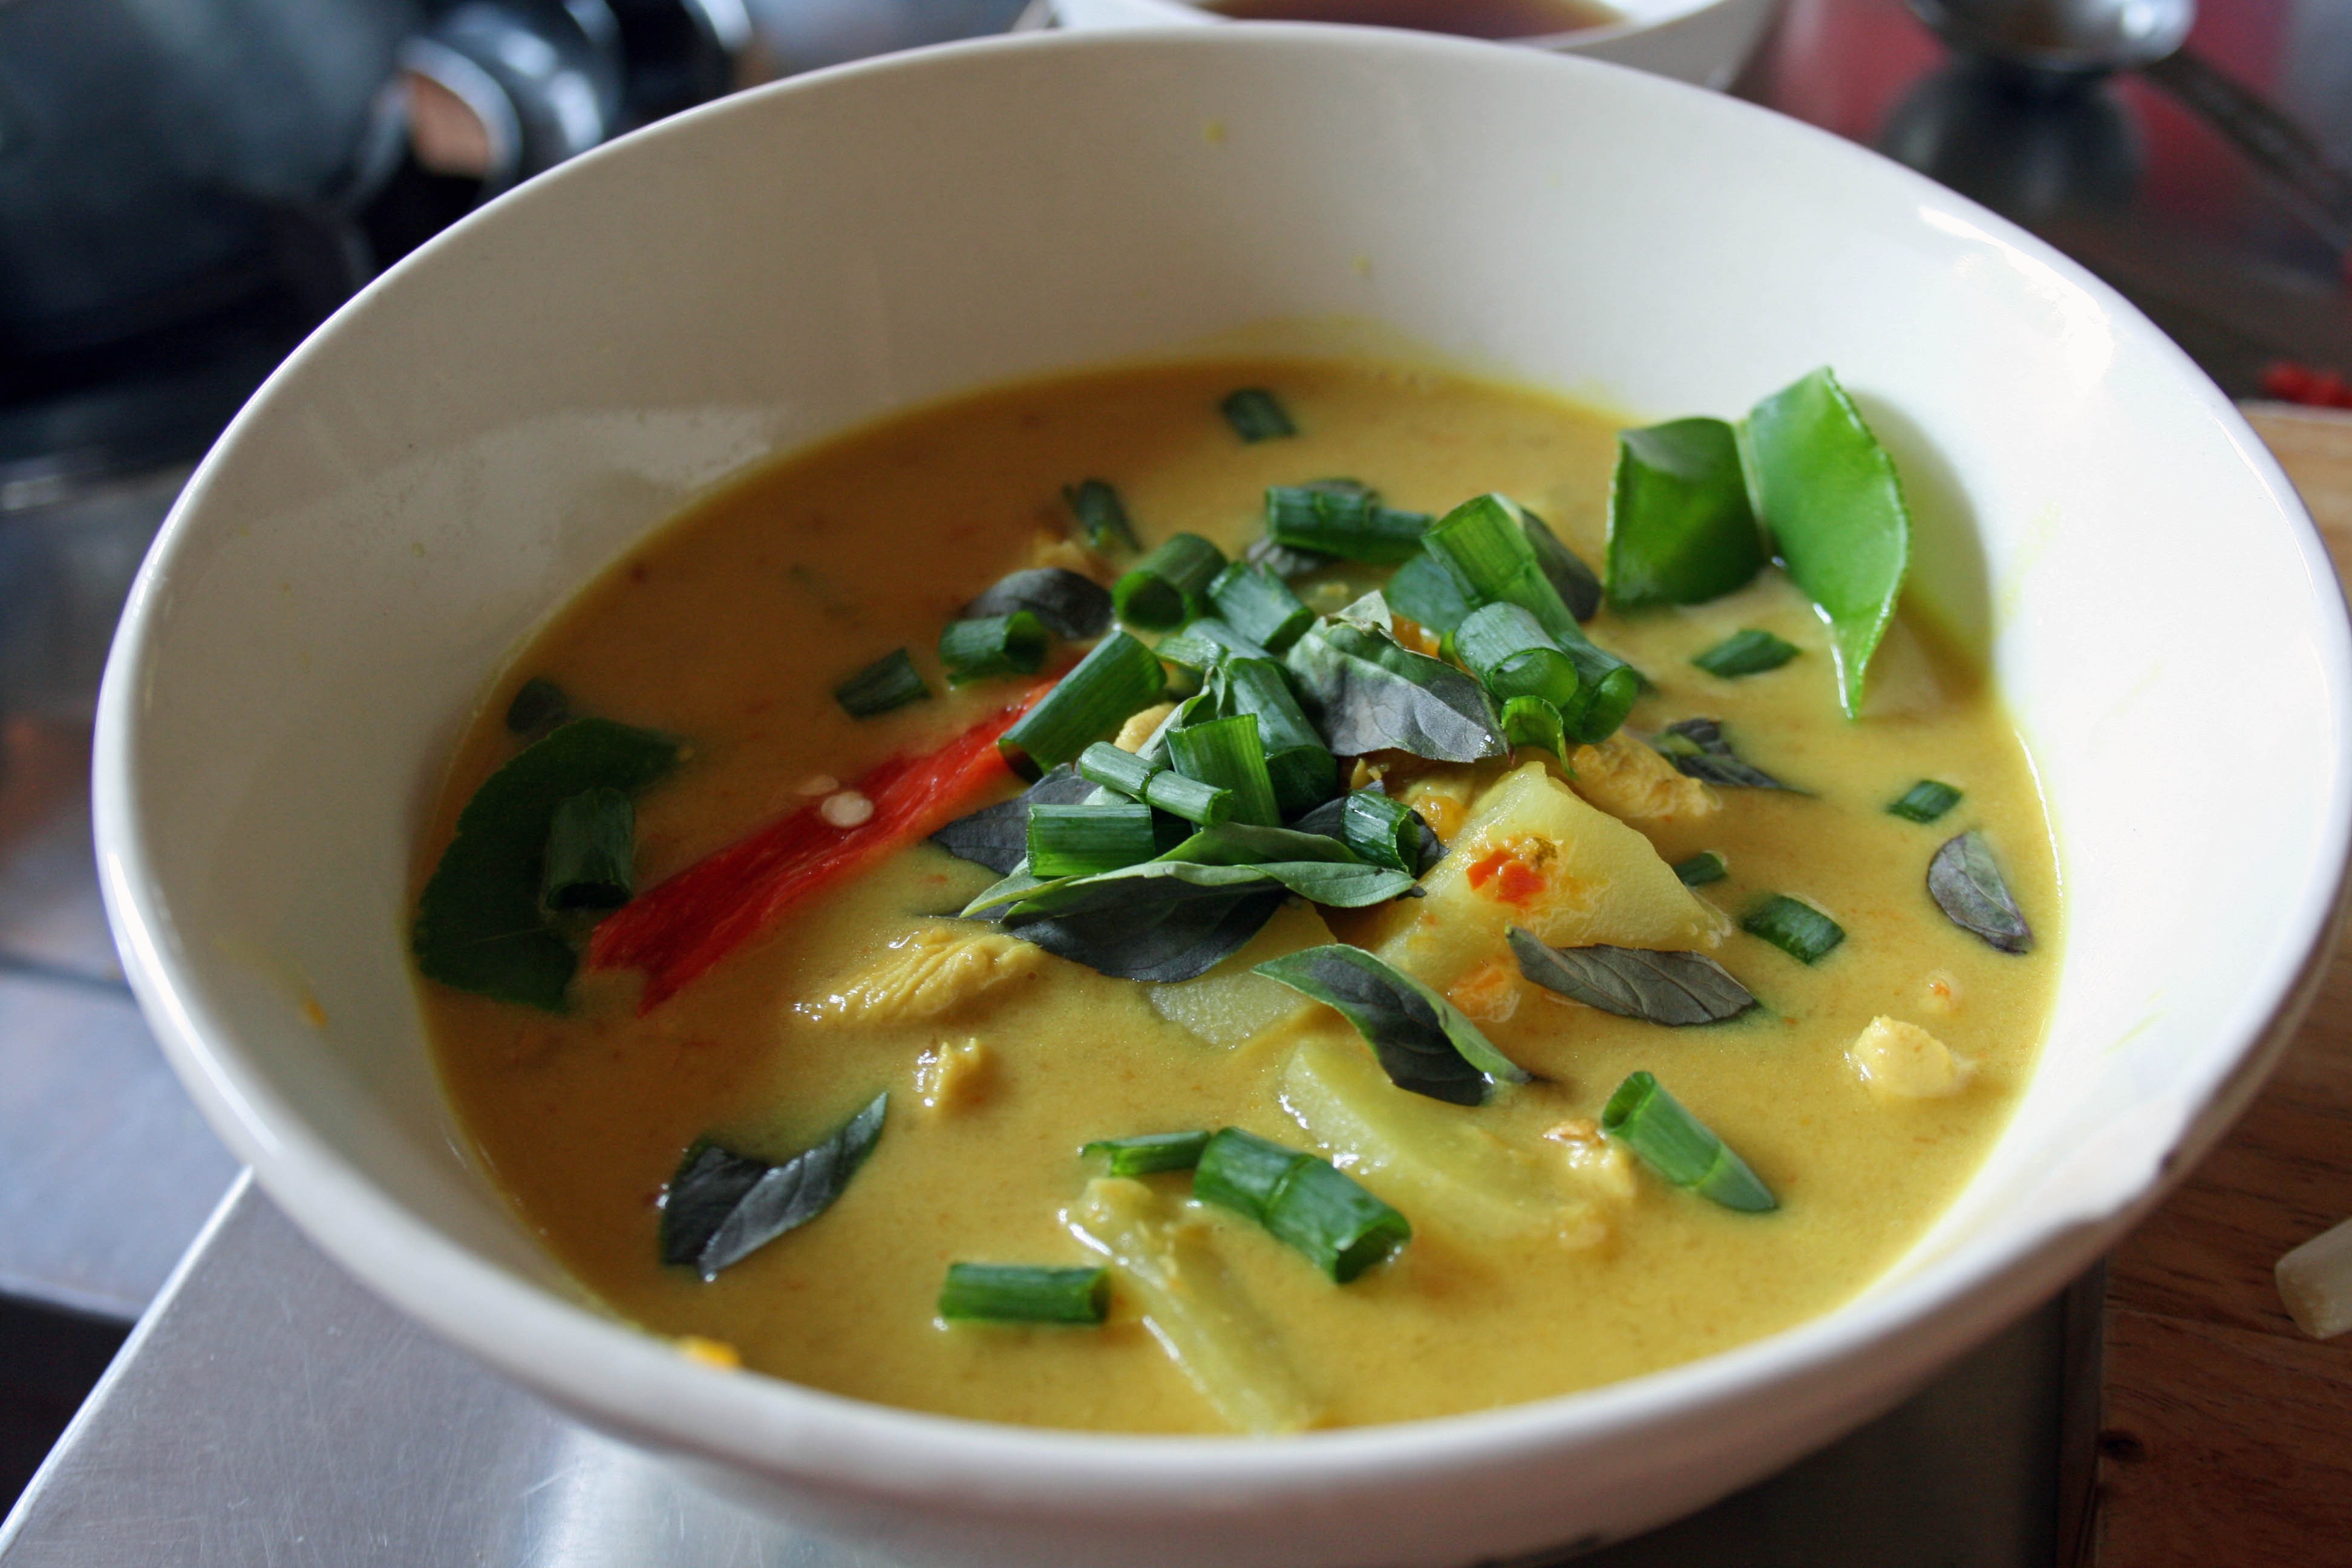
13. Reduce the heat and stir in the basil, green onions, salt and pepper. A squeeze of lime is delicious too.
14. It’s finally done!!! And it’s so worth the wait.
Serve with brown rice.