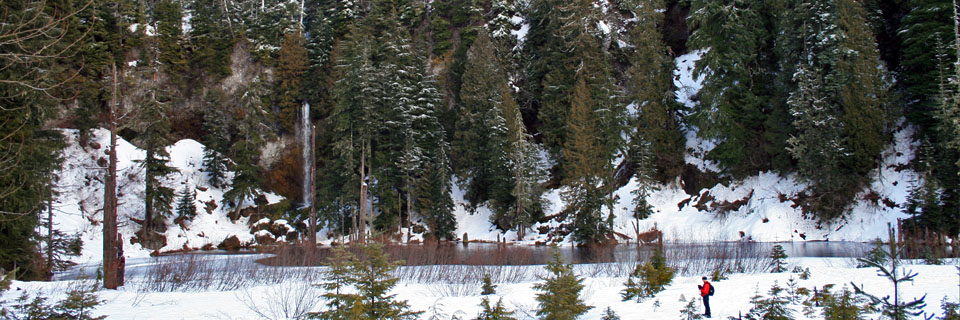
Leprechaun Lake with McClellan Peak in the background
Quick Stats
Distance: 21+ miles roundtrip (18 miles as a through hike); side trips abound
Time: 3+ days
Difficulty: moderate to Upper Snow Lake; very difficult to the Enchantments
Season: Mid-July to Mid-October
Dog Friendly: No, dogs are prohibited due to a fragile ecosystem, the native mountain goats, and tricky, steep hiking/climbing
Pros: Mountain views, crystal clear alpine lakes, larches, mountain goats, toilets, and no horses.
Cons: Can be crowded at times (permit system helps), tricky and dangerous rock scrambles, mosquitos early in the season, toilets, and fires are prohibited
Permit: Yes, you need a permit to camp in any of the enchantment zones and even to day hike into the Enchantments. Backpacking permits can be acquired at recreation.gov (must be picked up by 9 am on the day of your hike (or the night before) or it will be given away to another group, while day hiking permits can be acquired at the ranger station in Leavenworth…I assume. After closing hours the ranger station stores permits in a box outside its door which allows you to pick up your permit the night before and get an early start on the trail.
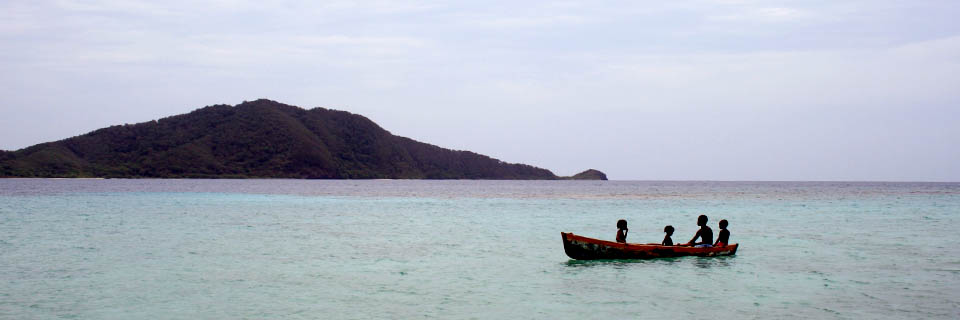
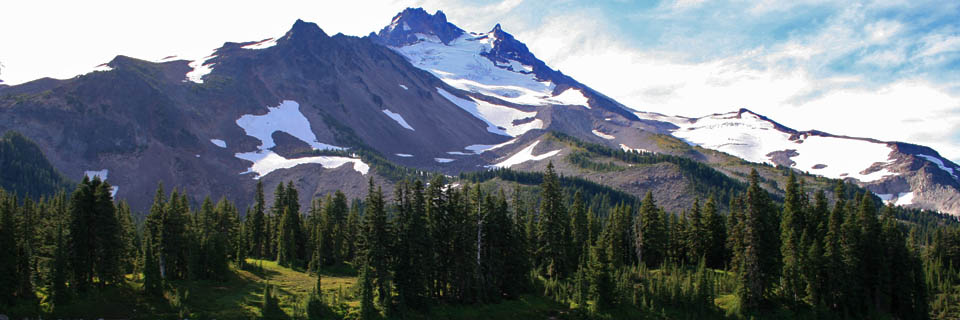
To celebrate fall Steve and I decided to take some time off and head up to Leavenworth, (a cute little Bavarian style town… aka a tourist trap) about a 5 hour drive north from Portland, to see the larches in their golden glory up in the Enchantment Lakes.

Fall color in the Enchantments

The larches in all their glory in front of Prusik Peak
The Hike
So the real reason you’re here. You’re curious about the hike that left me hobbling around town for days afterward. Hiking in to the Enchantments from the Snow Lake trailhead makes you REALLY earn those lakes. The Snow Lake trail is longer than the Colchuck Lake/Aasgard Pass trail and it starts at a lower elevation.

Looking toward Leavenworth on the Snow Lake Trail
Day 1 (8.5 miles)
After a relatively late night drinking beer in Leavenworth Steve and I ended up starting on the trail a little later than we had intended. We were happy to see that the wind had blown most of the smoke from the Wenatchee Complex and Cashmere Mountain fires out of the valley and were able to breathe freely as we hauled ourselves up the hill with our overloaded packs.

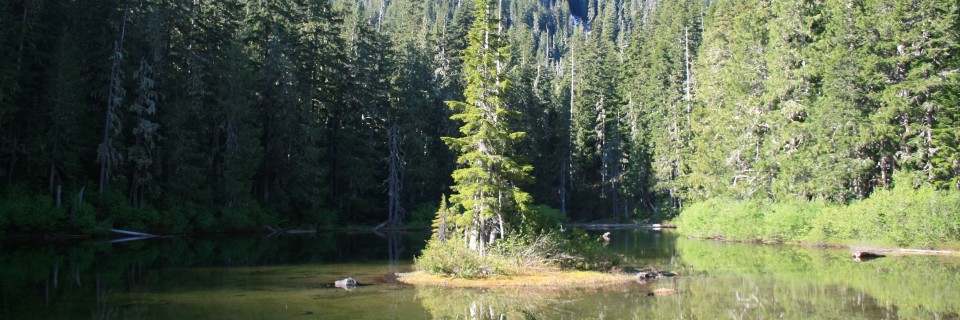
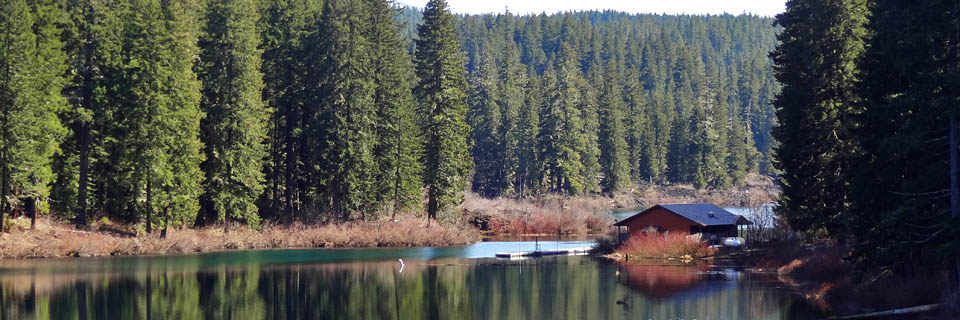
Nada Lake on the Snow Lake Trail (5000 ft. elevation)
The hike from the Snow Lake Trailhead to Nada Lake is essentially all uphill with switchback after switchback for 5 ½ miles gaining 3600 feet. There are a few pretty campsites at Nada and the lake itself is stunning. From Nada Lake the trail continues uphill gaining another 400+ feet switchbacking up a talus slope until dropping in to the Snow Lakes.

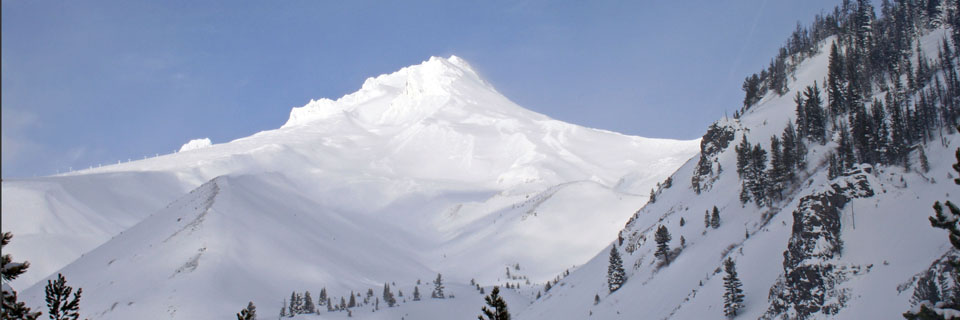
Talus slope switchbacks on Snow Lake Trail
We camped at the very far end of Upper Snow Lake, just before the stream crossing, so we would be able to get an early start on our dayhike up to the Enchantments. We made it to camp just in time, the wind was starting to pick up and the temperature was dropping fast.

Steve was finally able to try out his new hammock
Steve made quick time hanging up his new ENO Hammock and we were able to chill and drink whiskey spiked apple cider while we watched the last rays of sun light up the hillside across the lake and turn the sky a brilliant orange. Exhausted from our hike we retired to our sleeping bags by nine….no card games played and no stories told.
Day 2 (4 miles)
We knew this day would be the hardest; in fact it made Day 1 look like a cake walk. The “hike” from Snow Lake up to the Enchantments is as psychologically challenging as it is physically. I had never considered myself to be afraid of heights….and maybe I’m not, but I am definitely afraid of falling.

The trail in to the Enchantments literally disappears beneath your feet
The trail from Snow Lake up to Lake Viviane had me questioning whether I should continue or not. The “trail” follows rock cairns across granite slabs where a missed step could send you careening over a cliff. In places, foot holds have been blasted into the rock and cement “steps” have been put in place to make it easier, but it is not easy…I found myself using my hands more often than not and spider crawling more than I should have been. Steve loved the challenge, while I just wanted to get up to the lakes so I could be on flat ground and away from a cliff edge for a bit. The first lake you reach is Lake Viviane which is flanked by Mount Temple and Prusik Peak.

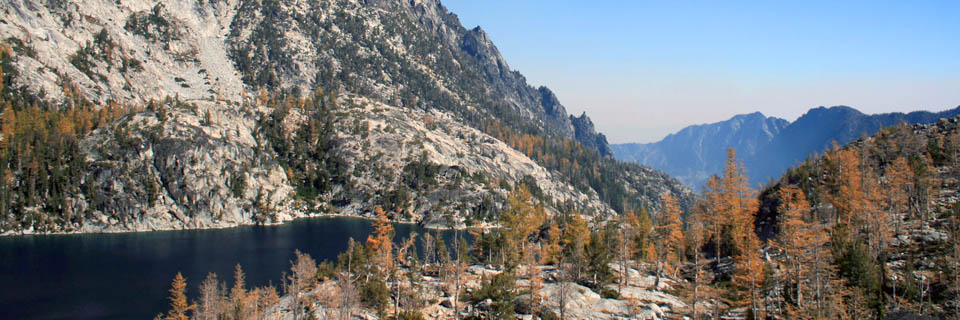
Beautiful fall color at Lake Viviane
When we reached Lake Viviane I was convinced we were in the clear, but no…we still had to finish climbing up the granite…. affectionately called “Trauma Rib” to reach the remaining lakes. Once in the basin my heart rate slowed and I dug my camera out of my pack and started taking pics.

Prusik Peak and the Temple
We passed by Leprechaun Lake, nestled between Lake Viviane and McClellan Peak, Sprite Lake, Perfection Lake and finally to Inspiration Lake before we turned around to head back to our campsite at Upper Snow Lake.

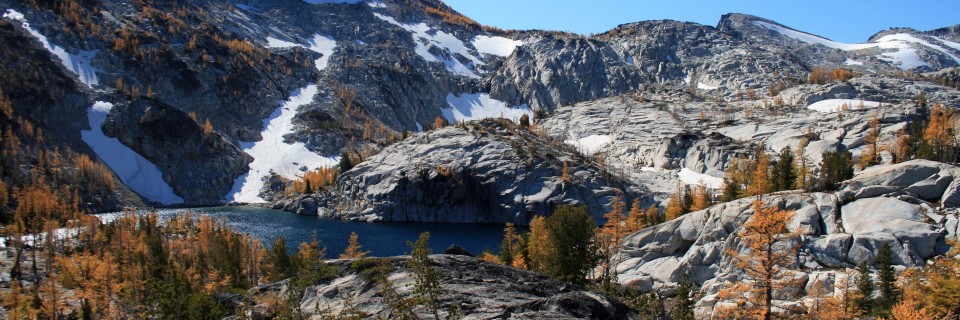
Little Annapurna above Perfection Lake in the Enchantments

Inspiration Lake and the rock scramble to get up to the upper Enchantments

Perfection Lake with McClellan Peak
In hindsight I would have packed lighter, applied for a permit earlier in the year, so could have camped in the Enchantment Basin and would have stayed longer. There were tons of areas to explore if we had had more time: the Druid Plateau, Gnome Tarn, Crystal Lake, Shield, Earle and Mesa Lakes, summiting Little Annapurna, etc.

View of the Snow Creek valley from the Enchantments
Our second night was even colder than our first night at about 35 degrees Fahrenheit.

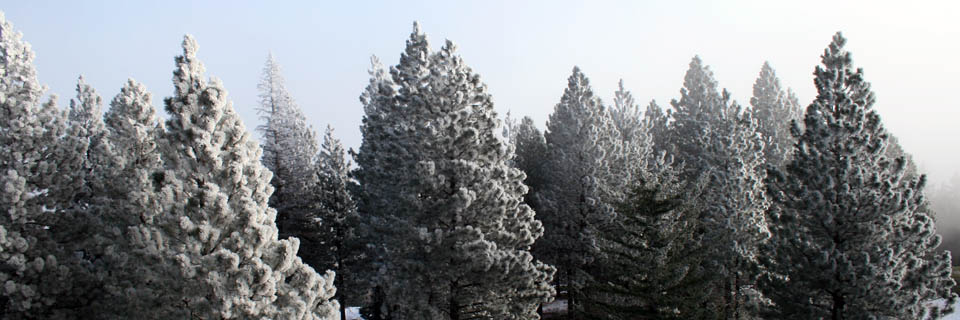
Surreal lighting at Snow Lake
Day 3 (8.5 miles)
On day 3 we took our time packing up camp, but once we hit the trail we passed many different groups on their way up… including a couple packing their small child and a HUGE pack up to camp in the Enchantments for a couple of days. We had a hard enough time with just our daypacks and nothing makes you feel like a big wuss than seeing a family carry their baby with all their baby gear up; and to throw salt on an open wound we were passed by an elderly man who whizzed by us just as fast as the trailrunners. Ready for a beer and some food that hadn’t been freeze dried we hurried down the hill only stopping to strip layers and have the occasional snack.
GPX File of Our Hike
I’ve included a downloadable GPX file for the Enchantments based on our hike. Unfortunately, the batteries on our Garmen Earthmate PN-60 died during the second day so we don’t have tracks for the Upper Enchanted Lakes area. It’s not perfect, but at least it has a bunch of waypoints for the lower parts of the hike.
Resources
Places to Eat, Drink and Camp in Leavenworth
Permit: www.recreation.gov
100 Classic Hikes in Washington by Ira Spring and Harvey Manning
Trekking Washington (Backpacker Magazine) by Mike Woodmansee
www.wta.org
Every Trail amazing trip report with waypoints